4-Step Guide to a Masculine Den Transformation.
When I started working on a design concept for the Den, I always knew I wanted a design that was masculine yet cozy. This room was a blank slate, aside from the massive brick wall and hearth. But I knew it had potential! I also knew it was in desperate need of some character and a tone down that wall of brick.

Table of Contents:
Step 1: Installing Bookcases
Step 2: Adding Millwork
Step 3: New Coat of Paint
Step 4: Lighting Upgrade
Hear me out. I know everyone thinks built-ins around the fireplace are outdated. It felt like HGTV shows were all saying “lets remove these tacky bookcases”. Well, in this case, adding bookcases was the only option. The depth of the hearth meant that I could never flank furniture next to the fireplace, which is a look I adore. And then, thinking about what to put ON the hearth that had the right scale and height seemed impossible. Since painting the fireplace was not an option, I tossed around the idea to my partner about installing bookcases and he was “iffy” (technical term) about it. We even ordered some unfinished bookcases and placed them before the vision could be confirmed that it was the right choice.
I knew once we got the bookcases into their home that we were going to need to build a support base to give them a little more elevation. As you can see from the picture below this left a substantial gap between the top of the bookcases to the ceiling. So we decided to marry the difference between the top and bottom. A 2×4 base for extra elevation and an extension on top. Doing both of these not only helped take up the empty space but also allowed for crown and base molding to be installed to match the rest of the room. A necessary step in making the bookcases match the room. Honestly, I wish I would have taken picture of this process, so I could show how easily you can transform prefab bookcases.

I personally love bookcases, I believe that you should display what you love. I enjoy styling bookcases and showcasing your stuff in a well-curated way. Plus, I was a little obsessed with the idea of having a mantel for Christmas stockings. (Here is a sneak peek at how that turned out!) I could envision sitting in the Den with a fireplace and watching some amazing Christmas movies. So I knew I a mantel was going to be installed at some point.
This room was a labor of love (and a lot of layers of paint). We made mistakes, but we learned from those and moved on. In this post, I want to share how I created the concept for this Den, how to measure/install the picture rail, and pull it all together!
Installing Bookcases
I ordered prefab bookcases because I needed to sell the idea I was proposing, which honestly, I am incredibly happy with. The build quality and ease of assembly were beyond my expectations. If you need bookcases in your life, I would absolutely recommend these. I chose the 72″ unfinished option because I knew it was going to be painted to match the wall color — more on that debacle later!
Painting these was time-consuming, but mainly because of “the paint debacle…”. Thankfully, using a hot dog roller (if you paint, you know what I am talking about) and a cheap paint sprayer from Amazon made these easy to deal with. This is good because they ended up getting 6 coats of paint.

Adding Millwork
For this room, we wanted a little drama. To me that translated into taller Crown Molding and Taller Base Molding. We were able to save some time and installed the Crown Molding directly over the existing, which also gave us something solid to nail into. Adding the Crown and Base Molding really helped create the drama we needed but the den didn’t feel complete.
I had been obsessing over using Picture Frame Molding but was reluctant to do it. I just wanted to get these projects completed so we could move in. Thankfully (I guess it depends on how you look at it), I have some persuasive family members that just would not let me skip it. Adding the Picture Frame Molding took two days and was absolutely worth it. After figuring out the layout (go math!), the installation was pretty simple. I will be posting another blog post about that in the next few days.
New Coat of Paint
Buy samples. I should have given more thought to the final paint color for this room. After painting over the existing bright yellow with primer by Kilz and I swore I had the perfect color chosen. We painted the room and well, IT WAS AWFUL. I had not fully considered the red brick and how it could impact the wall color. My bad.
Now onto the big paint debacle, not only did I choose the wrong paint color, but we also did not adequately prep the den walls before painting. There were so many imperfections that we had to use an orbital sander and go over the entire room. This looks like one of the views from a Predators visor or a heat map, but either way, our mistake was a giant-time vampire (it sucks time, get it?). After sanding it, we had to patch, prime, and paint. Not just the walls, but I had already painted the bookcases with this poor color choice too. It really did take a lot of extra work.

Lighting Upgrade
This room only had two square recessed light fixtures that were in the center of the room. They cast such poor light that they were rarely used and didn’t even have working light bulbs. We upgraded to 4 recessed LED lights in each corner of the room. These lights have the ability to adjust the temperature of the light and could be used with a dimmer switch. I played with the lighting output and went with something a little warmer, typically I prefer the cooler light color, but this room needs drama. I also purchased two of these Staggered Glass Plug-In Sconces from West Elm. They come with LED bulbs, but they were a little too bright. So I downgraded those to 15w bulbs and used my favorite WeMo Smart Plug to control them with Siri. INSTANT MOOD CHANGER.
And here is the final product!
I love to create Mood Boards as I am buying pieces for my rooms. This helps me visualize the room’s feel, but also gives me something to reference later.

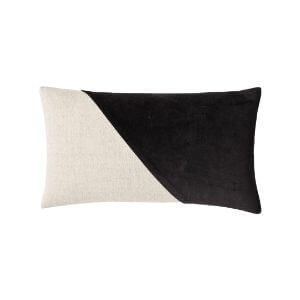
LUMBAR PILLOW
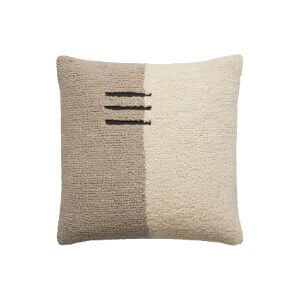
DASHED PILLOW

PILLOW

VASE

CANDLE

PILLOW

TRIPTYCH ART
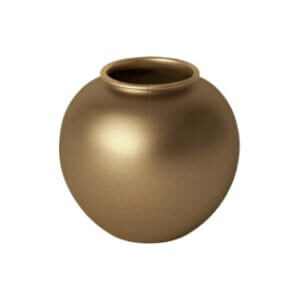
BRASS VASE

WOVEN BASKET

BOOK

BOOK

CLAY KNOT
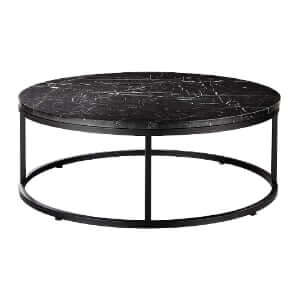
COFFEE TABLE
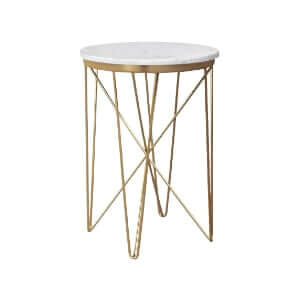
SIDE TABLE
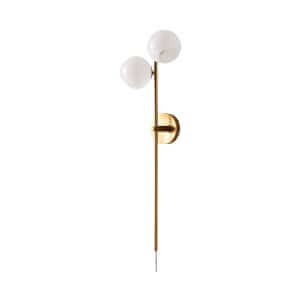
SCONCE
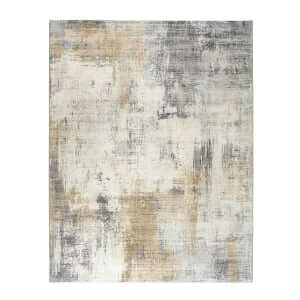
RECYLCED RUG
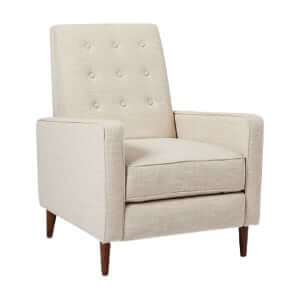
RECLINER

SECTIONAL
This post contains affiliate links. If you purchase something using my links, I may earn a small commission at no cost to you.


